Issue:
I would like to setup a build definition that will run when I check in my application and database projects. Then I want my artifact to automatically release to production environment. Where do I start?
Environment:
Team Foundation Server (TFS) 2017, Visual Studio (VS) 2017, Build Server (BS) 2017, ASP.Net Project, SQL Server 2016
Resolution:
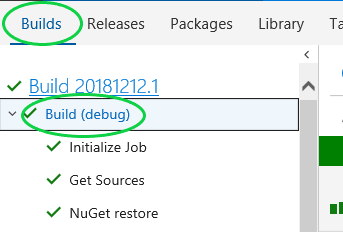
For Build definition instruction, please refer to TFS Build and Release Management Definition Automation Tutorial (Part 1). Here are step-by-step instructions on how to setup release definition that will publish code and database automatically. This release definition uses artifact created by build definition previously with different build configurations to publish to different environments.
Step-by-step instructions:-
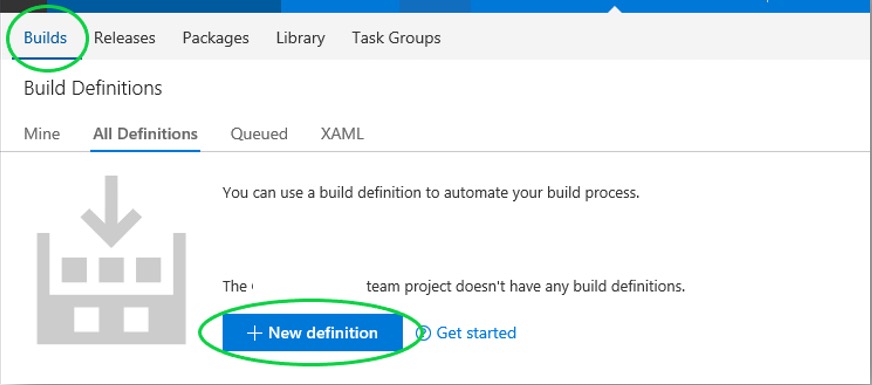
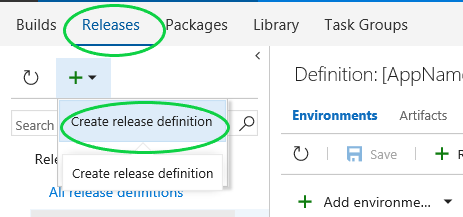
- Create a new Release definition by clicking on “Releases” tab and “+ New definition” link.
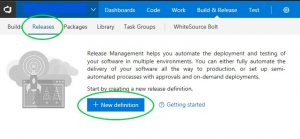
Or by clicking on “Releases” tab, then click on “+” dropdown and select “Create release definition” link.

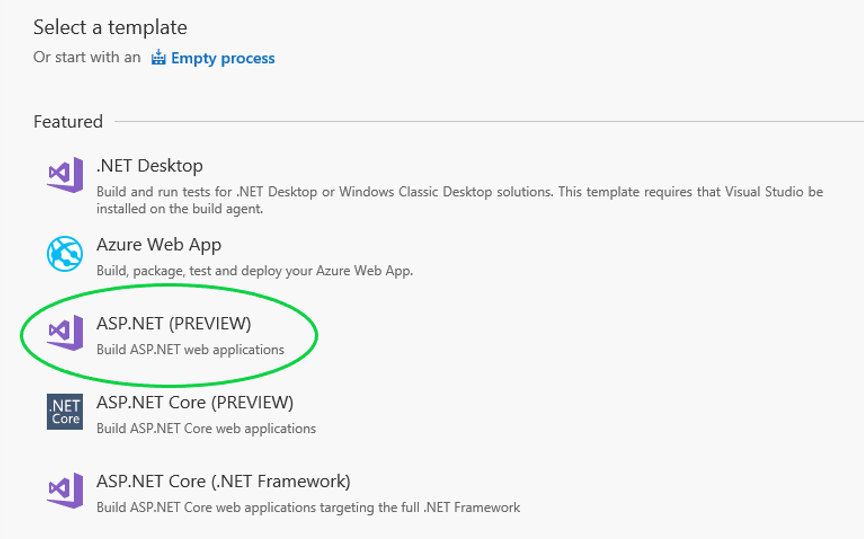
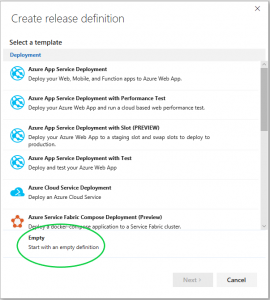
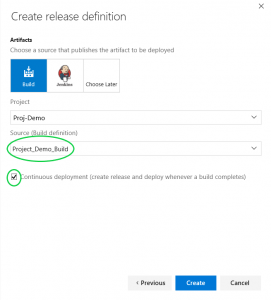
- Choose “Empty” template and click “Next”.
- Select the correct build definition from “Source (Build definition)” dropdown that created previously on part 1. Click on checkbox for “Continuous deployment …”. Then click on “Create” button to create a new release definition.
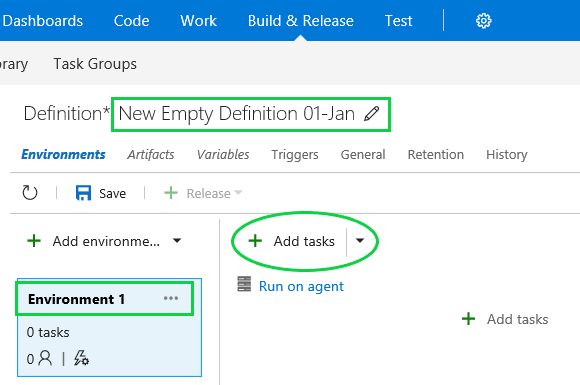
- Rename your Release definition and Environment name

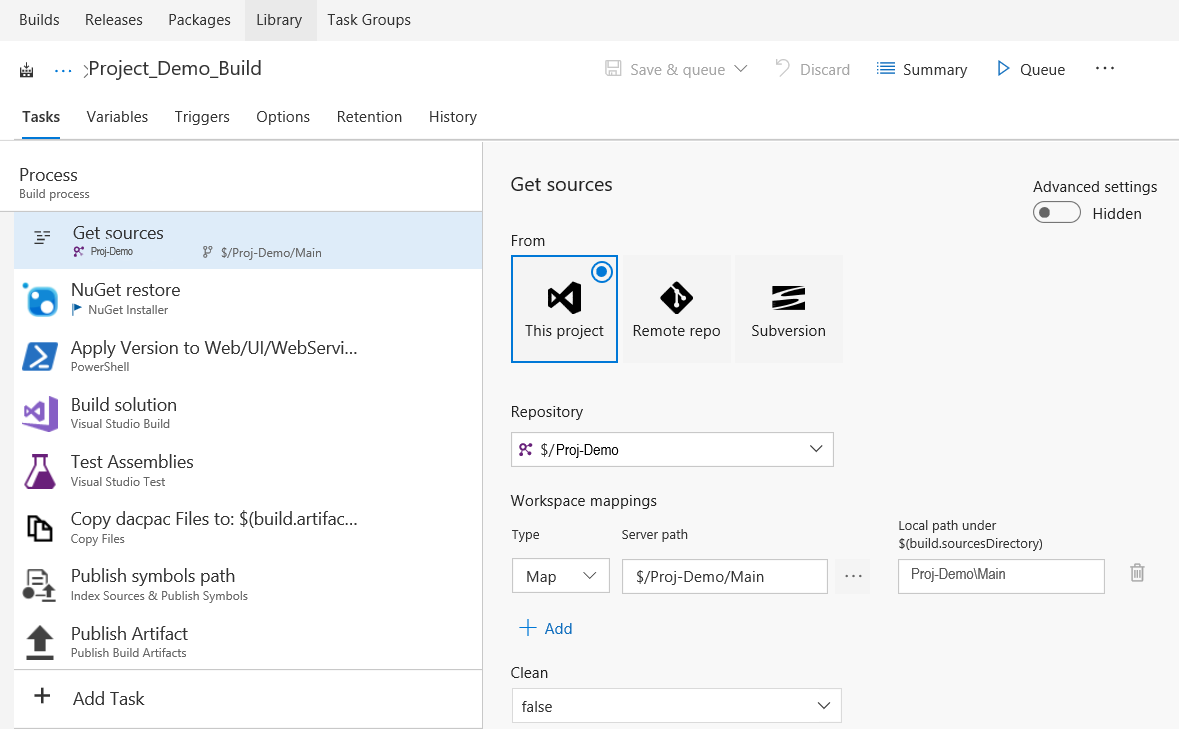
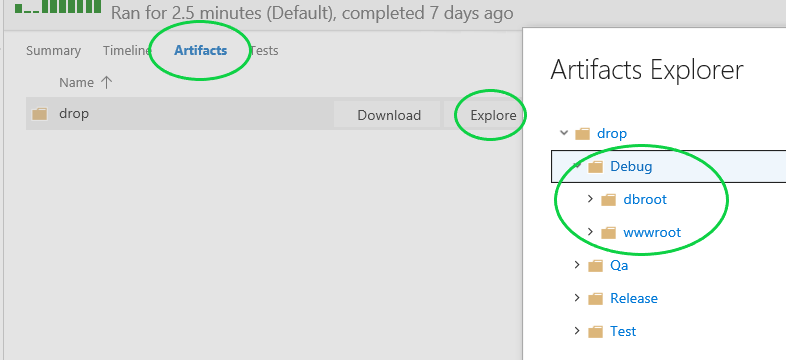
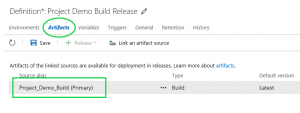
- Click on “Artifacts” tab and verify that the source is correct from the build you created on part 1.
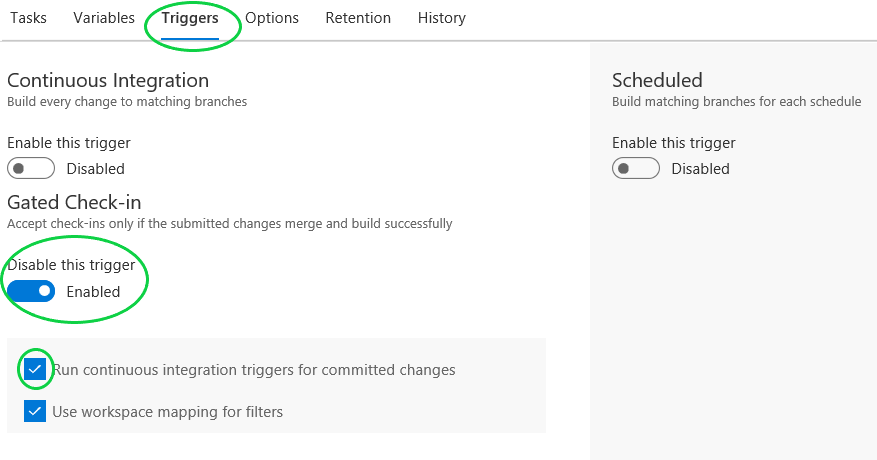
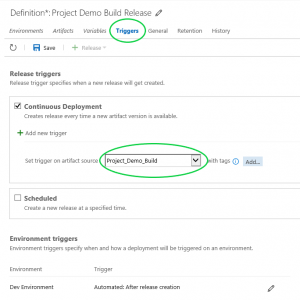
- Click on “Triggers” tab and verify that “Set trigger on artifact source” dropdown is correctly selected.
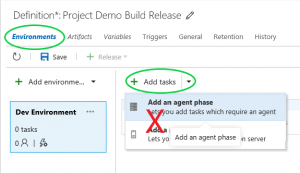
- Click on “Environments” tab and “+ Add tasks” link to add a task. Do not click on dropdown and select “Add an agent phase” unless you are doing something else.
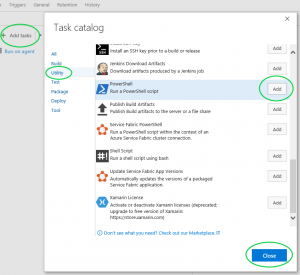
- Click on “Utility” tab, scroll down to “PowerShell” task and click on “Add” button twice to add two PowerShell tasks.
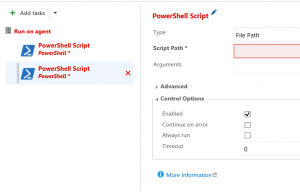
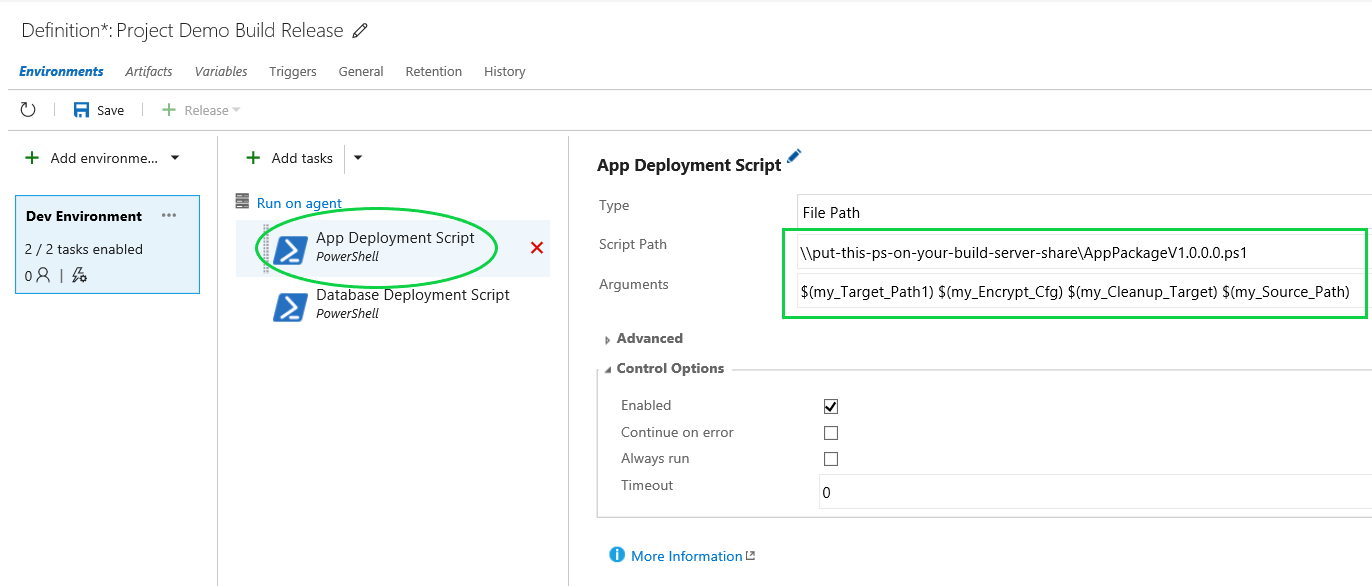
- Rename to “App Deployment Script” and enter script path and arguments as shown below. Make sure AppPackageV1.0.0.0.ps1 Custom PowerShell script is accessible by build server.

Script Path: \\put-this-ps-on-your-build-server-share\AppPackageV1.0.0.0.ps1
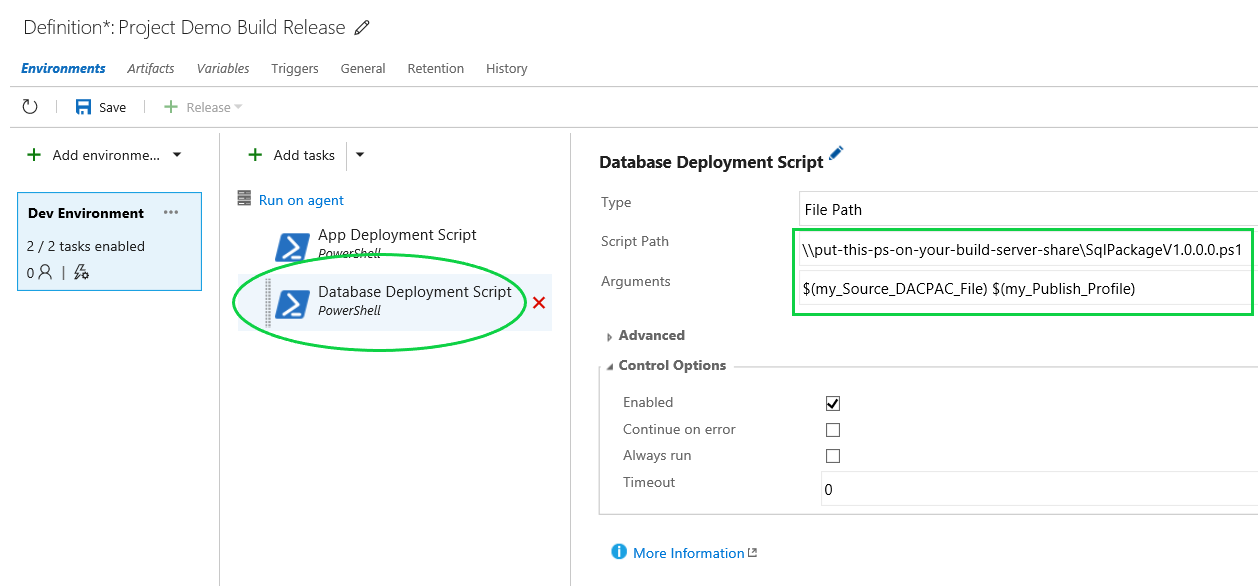
Arguments: $(my_Target_Path1) $(my_Encrypt_Cfg) $(my_Cleanup_Target) $(my_Source_Path) - Rename to “Database Deployment Script” and enter script path and arguments as shown below. Make sure SqlPackageV1.0.0.0.ps1 Custom PowerShell script is accessible by build server.
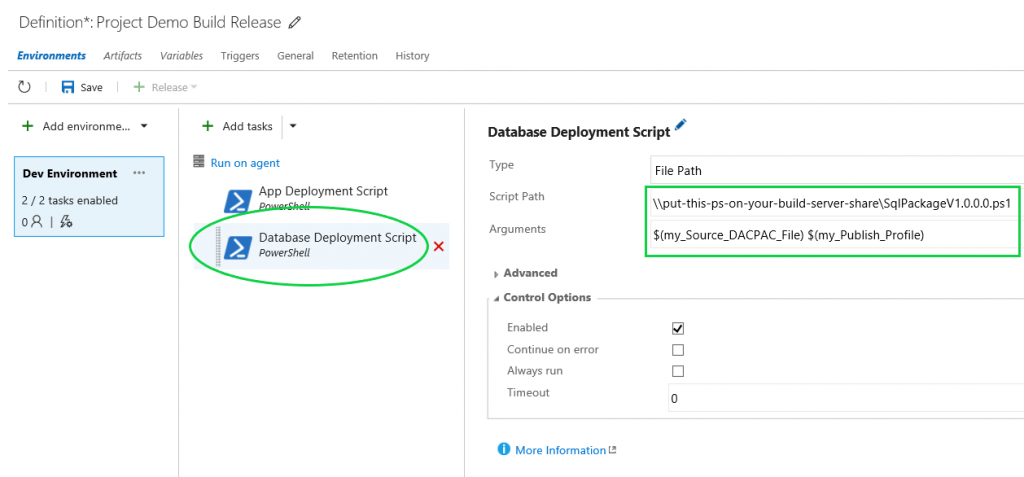
Script Path: \\put-this-ps-on-your-build-server-share\SqlPackageV1.0.0.0.ps1
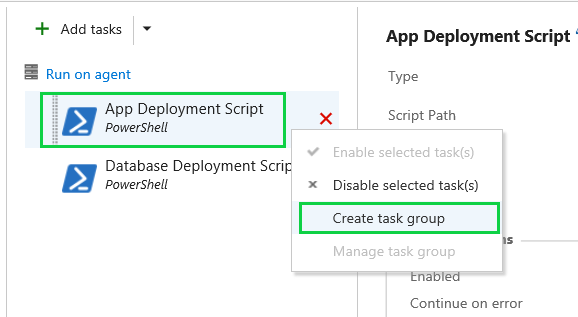
Arguments: $(my_Source_DACPAC_File) $(my_Publish_Profile) - Next is to convert PowerShell task to Task Group so that it can be called easily with variables. To convert to Task Group, right click on “App Deployment Script” and select “Create task group”.
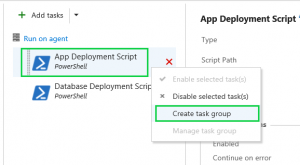
- Enter “App Deployment Task” on Name field and click on “Create”.
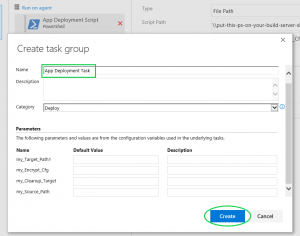
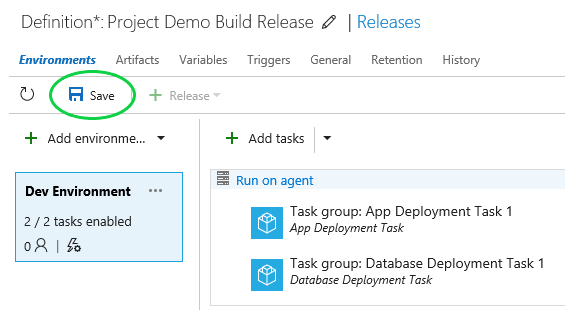
- As you can see below, it’s using “App Deployment Task” task group with variables on the right hand side. By doing this, you can deploy your code to multiple location with new “App Deployment Task” task found under “Add tasks” link.
 Custom PowerShell Script (PS) Variable Description:
my_Target_Path1 = Target folder (i.e., web server UNC path: \\webserver1\demo)

my_Source_Path = Source folder (i.e., build artifact wwwroot folder: $(System.DefaultWorkingDirectory)\Project_Demo_Build\drop\[Debug]\wwwroot)

my_Encrypt_Cfg = Encrypt web.config sections (0 = disable encrypt; 1 = enable encrypt (default))

my_Cleanup_Target = Delete target folder (0 = disable delete; 1 = enable delete (default))
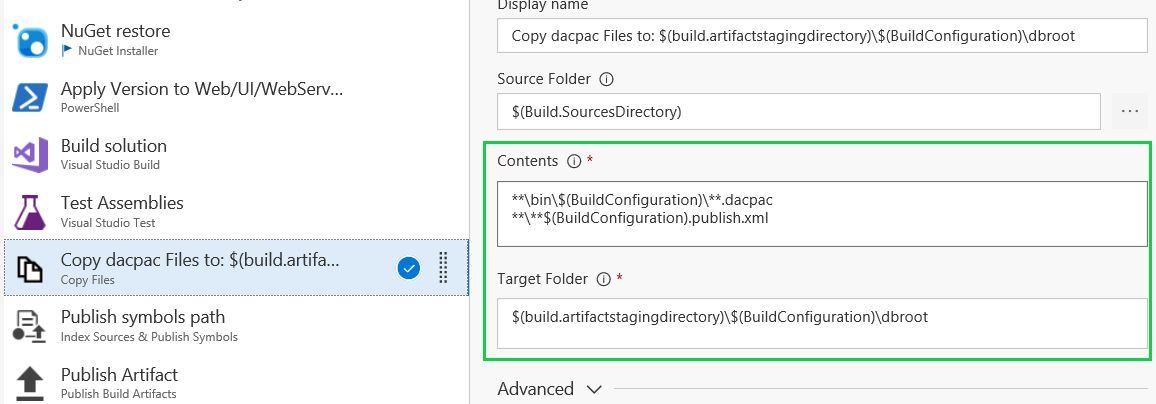
- Do the same for “Database Deployment Task” from step 11 to 13 and you will end up with “Database Deployment Task” task group as shown below.
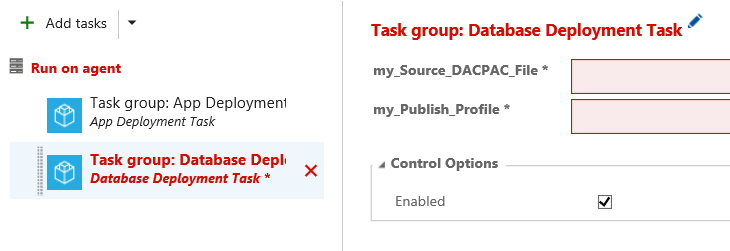
Custom PS Variable Description:my_Source_DACPAC_File = Source DACPAC database file (i.e., build artifact dbroot folder: $(System.DefaultWorkingDirectory)\Project_Demo_Build\drop\[Debug]\dbroot\Proj.Demo.Database.dacpac) my_Publish_Profile = Predefined publish profile for database (i.e., $(System.DefaultWorkingDirectory)\Project_Demo_Build\drop\[Debug]\dbroot\Proj.Demo.Database.[Debug].publish.xml)
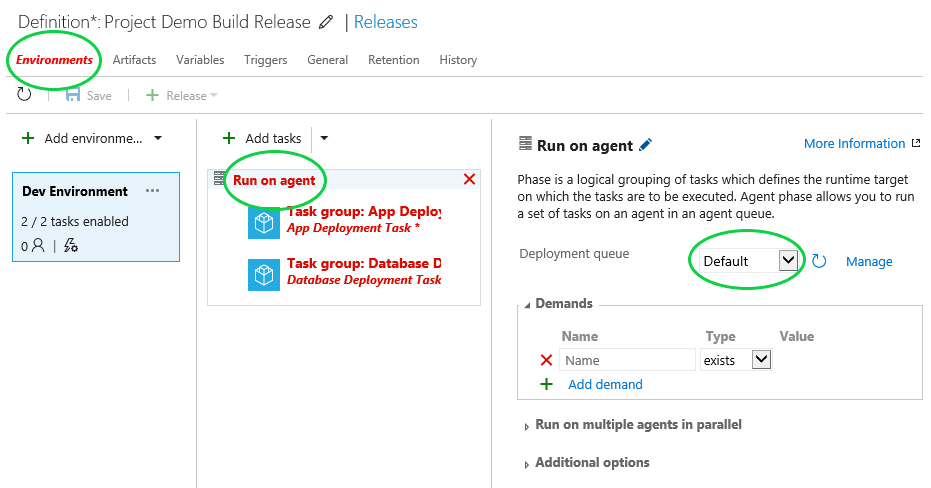
- Click on “Run on agent” link to select a deployment queue/pool.
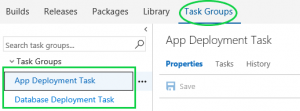
- In case you wonder, Task Groups can be found by clicking on “Task Groups” link as shown below.
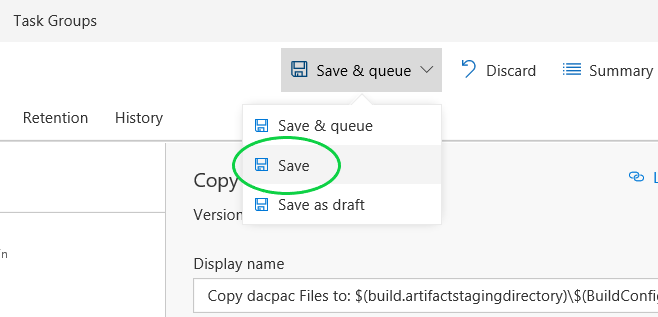
- Click on “Save” link to save your release definition.


Troubleshoot:
- If you see “The model version ‘2.9. is not support.”, this could be the wrong version of SQLPackage.exe is being used. Make sure to use 2017 SQLPackage.exe.


Reference: